Useless introduction
Some years ago (two?) I had no idea what Docker was, I’d say that even now I just barely scratched the surface. But now I’ve been using it for a while, I’ve just got back from a couple of workshops about tech talks, tonight I’ve been stood up and was just talking about Docker with a friend, so I thought why not, let’s write a simple tutorial on why and how to use Docker for your little database needs.
Previously on what is Docker
I guess that if you are looking for Docker stuff on the internet you may already have some basic knowledge, but repetita iuvant, they say.
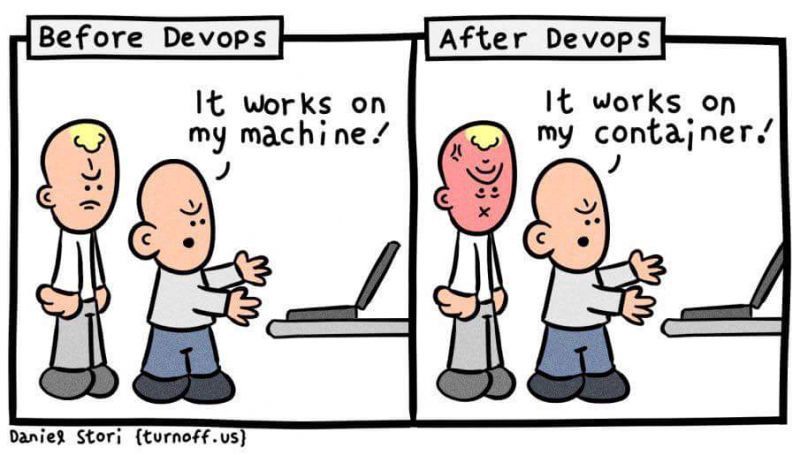
Basically, with Docker you create a kind of virtual machine that helps you ship your application and deploy it wherever you want, ensuring that you have the same environment across multiple servers/machines/hosts/whatever. You declare what you want in your container (operating system, dependencies, how to copy your app assets and so on), a bunch of configuration options like ports, and you’re good to go. This is incredibly useful for a variety of reasons, first of all, it helps you avoid the usual pain of things that work just fine in your local environment and then explode as soon as you deploy it someplace else.

Another good reason is in the development phases: it helps you develop and test things directly on the environment you’re supposed to use, and I can’t stress enough how useful is when it comes to databases: having your schemas and data defined in some files, build everything up with a single command and being able to drop everything and restart with a clean environment from scratch with another single command? Too good to be true!
OK, so how do we do that?
Installing
Well, first, you install it, and the official documentation is better than me at this job.
Then, of course, you pick what database you want to use. I’m very partial to PostgreSQL, but you should be able to follow along with any kind of DBMS you prefer.
Compose to the rescue!
I remember that when I first searched on the internet about how to make Postgres instances with Docker I incurred in a bunch of tutorials making my head spinning with docker run commands and other black satanic magic, so I think the best approach for this job is to use docker-compose. It’s a tool used for creating a multi-container Docker application.
Let’s say for example that you need to use PostgreSQL with pgAdmin, or maybe add an nginx server: with compose you simply define what images you want in your environment, maybe a couple more things that we’ll see in a moment and call it a day. Example:
services:
  postgres:
    container_name: postgres
    image: postgres:latest
    environment:
      - POSTGRES_USER=valerio
      - POSTGRES_PASSWORD=mylousypassword
      - POSTGRES_DB=dbname
    volumes:
      - ./scripts/a_random_setup_script.sh:/docker-entrypoint-initdb.d/01_random_script.sh
      - ./schemas/users_schema.sql:/docker-entrypoint-initdb.d/02_schema_users.sql
      - ./data/users_dump.sql:/docker-entrypoint-initdb.d/03_users_dump.sql
    ports:
      - "5432:5432"
    restart: always

  pgadmin:
    container_name: pgadmin
    image: dpage/pgadmin4:latest
    environment:
      - PGADMIN_DEFAULT_EMAIL=valerio@mail.zyx
      - PGADMIN_DEFAULT_PASSWORD=mylousypassword
    ports:
      - "5050:80"
    restart: always
As you may have noticed, there is an interesting option in this file, volumes. Docker allows you to mount local folders and files directly into your container, and this is particularly useful when you work with databases, especially in the development phases. You define everything you need for the setup of your DB, you put it into that /docker-entrypoint-initdb.d/ folder (YMMV for other DBMS, but for example it should be the same for MySQL), and you can do all kinds of nasty stuff with it, with the safety net of recreating everything you need with just one command (more on that later).
Tips
A couple of things: never, never, use latest for your containers. You don’t want to be hit, one day, by a breaking change in your containers: latest, like the name suggests, fetches the most recent version from the Docker Hub repository, and it doesn’t care about anything else, especially about you. So, you go there, you pick a version you’re comfortable with, and you pay attention to keep your dependencies updated, like you’re supposed to do already.
And now, how do I run it?
First, you pick a folder, preferably in the root of your project, or the root itself if you prefer. Call it whatever you want, but as usual meaningful names are better. If you want to call it something like docker or containers, you’d better set an ENV var for your project in a hidden file in the folder, .env: by default, Docker uses the name of the folder as a name for the whole application - so, to distinguish between different applications you have locally, put into the .env file something like this:
COMPOSE_PROJECT_NAME=myawesomedockerproject
Then, in the same folder, you create a file called docker-compose.yaml with something like the file I just gave you a couple of scrolls ago, save it and run to your terminal window and run docker-compose up and behold your application go live with it!
Next steps
I was always not very great at conclusions, so that’s pretty much everything. Additional useful resources on the topic:
Feel free to ping me about whatever issue, tip or random stuff.
